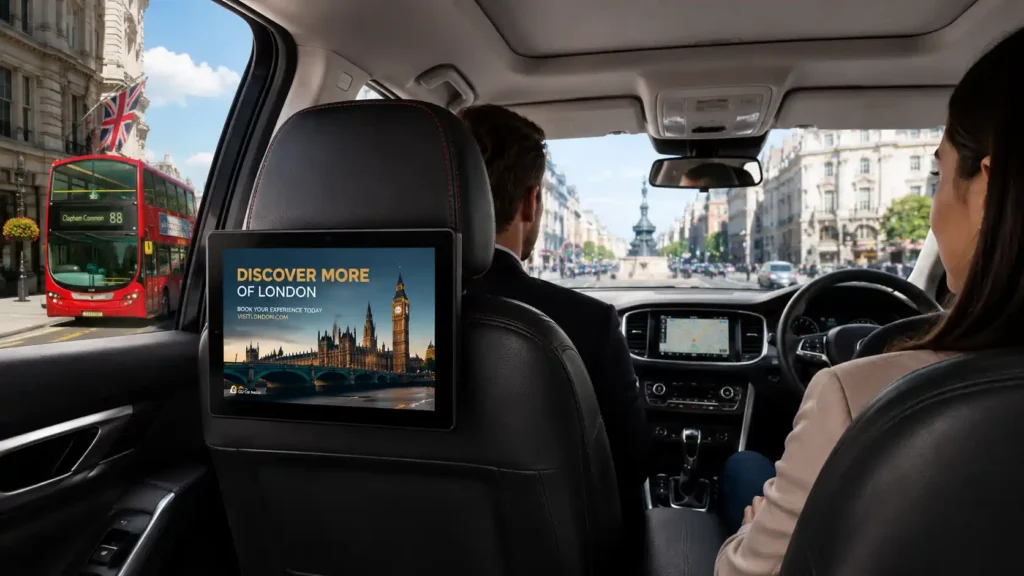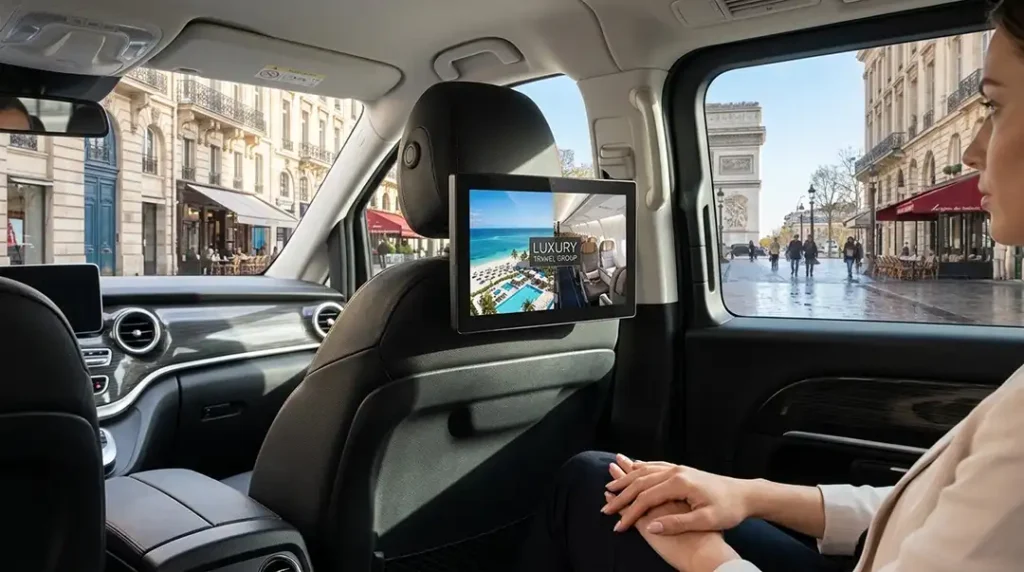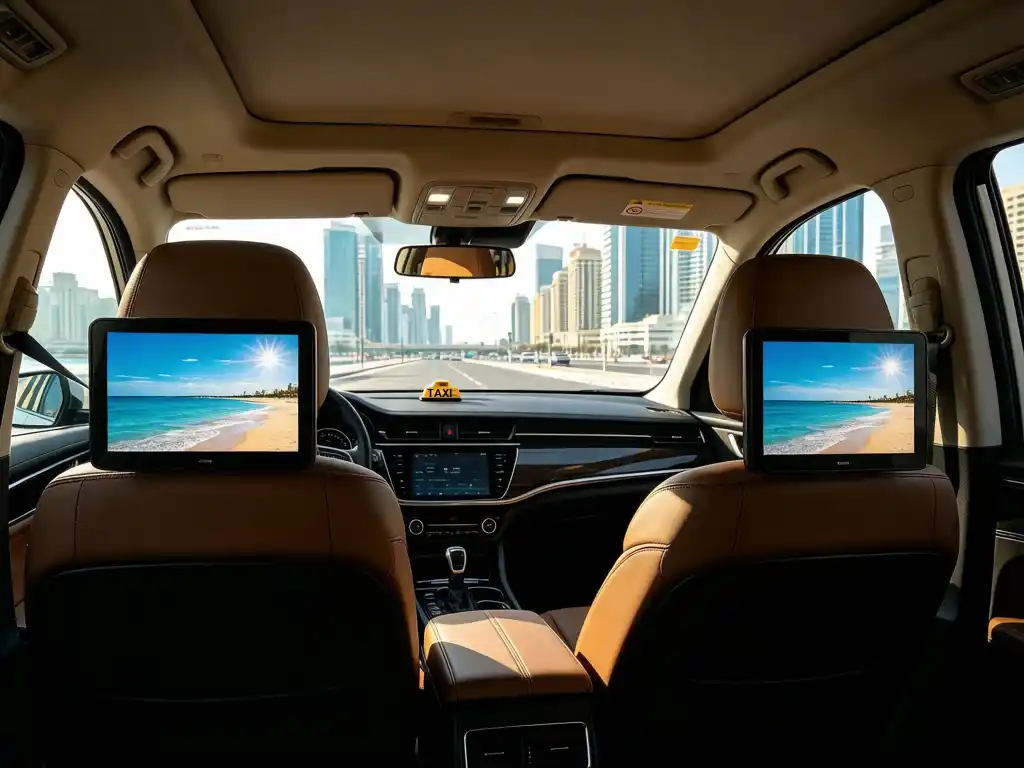
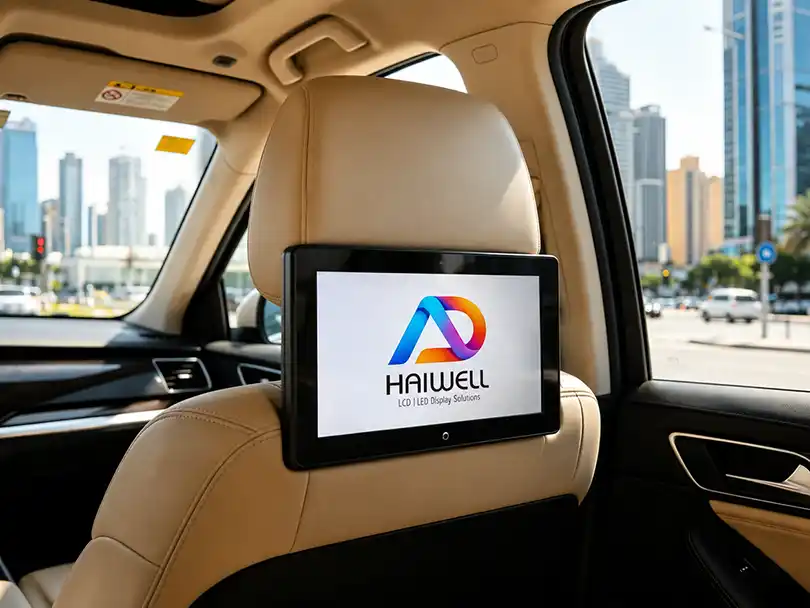
Installing a taxi headrest LCD screen onto front seatback steel poles is a straightforward mechanical process designed to fit various vehicle makes and models without permanent seat modifications. As fleet operators and digital out-of-home (DOOH) media owners scale their in-car advertising networks, proper mounting and hardware reliability are essential for long-term operation on bumpy roads. This practical guide walks through the physical installation steps, factory testing procedures, and system features for commercial vehicle displays.
Key Takeaways
- Universal Fitment: Uses adjustable steel brackets and multi-size rubber adapter rings to match different vehicle headrest pole gaps and diameters.
- Quick Installation: Simple screw-locking mechanism secures the display firmly to standard front seat headrest poles in minutes.
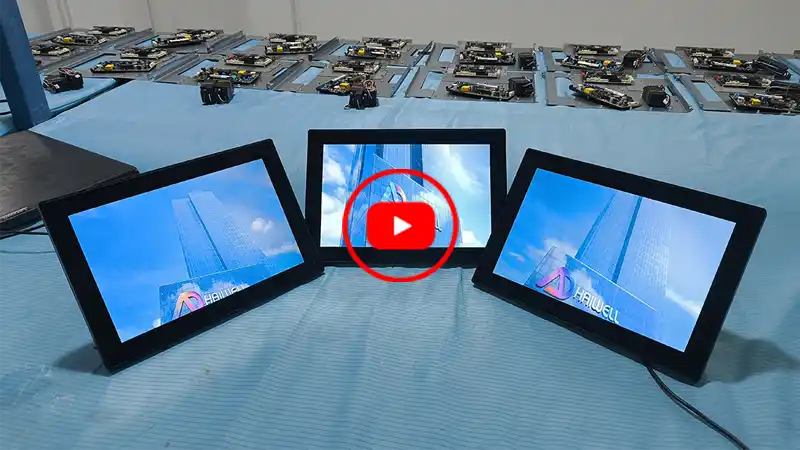
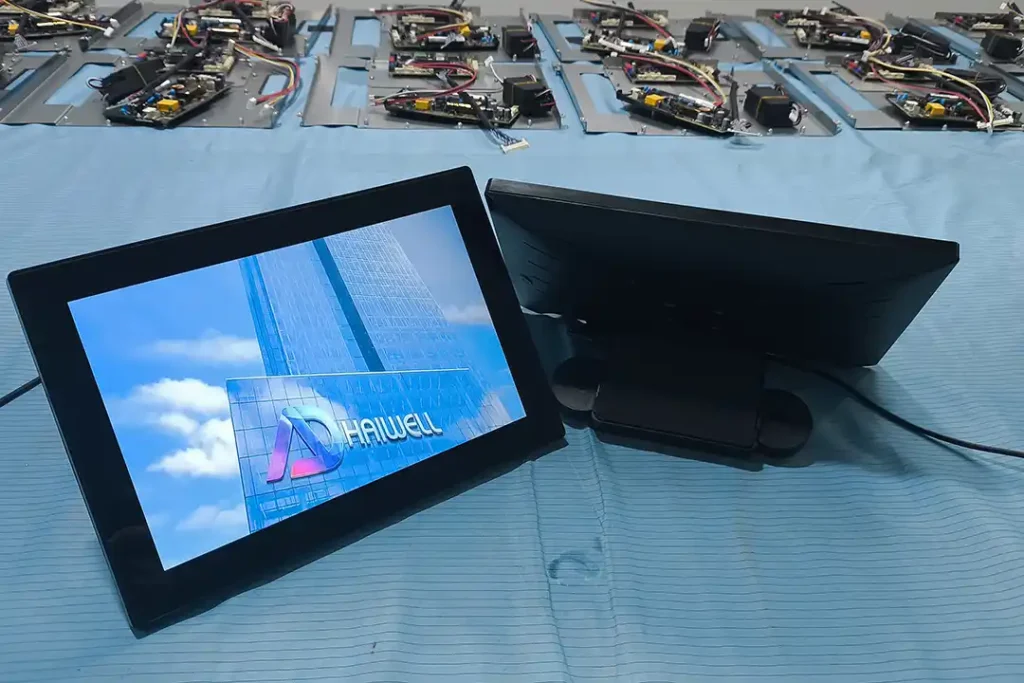
- Factory Quality Control: Each unit undergoes rigorous 72-hour non-stop aging and video playback tests before dispatch.
- Cloud-Managed Content: Built-in 4G LTE, Wi-Fi, and LAN modules connect directly to a free remote CMS platform for easy ad scheduling.
- Direct Manufacturing: Built by Adhaiwell in China with full customization and technical support for international transport operators.
What tools and parts are included with a taxi headrest LCD advertising screen?
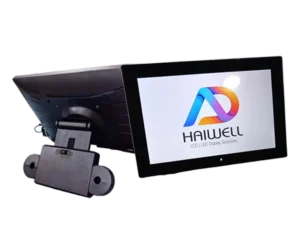
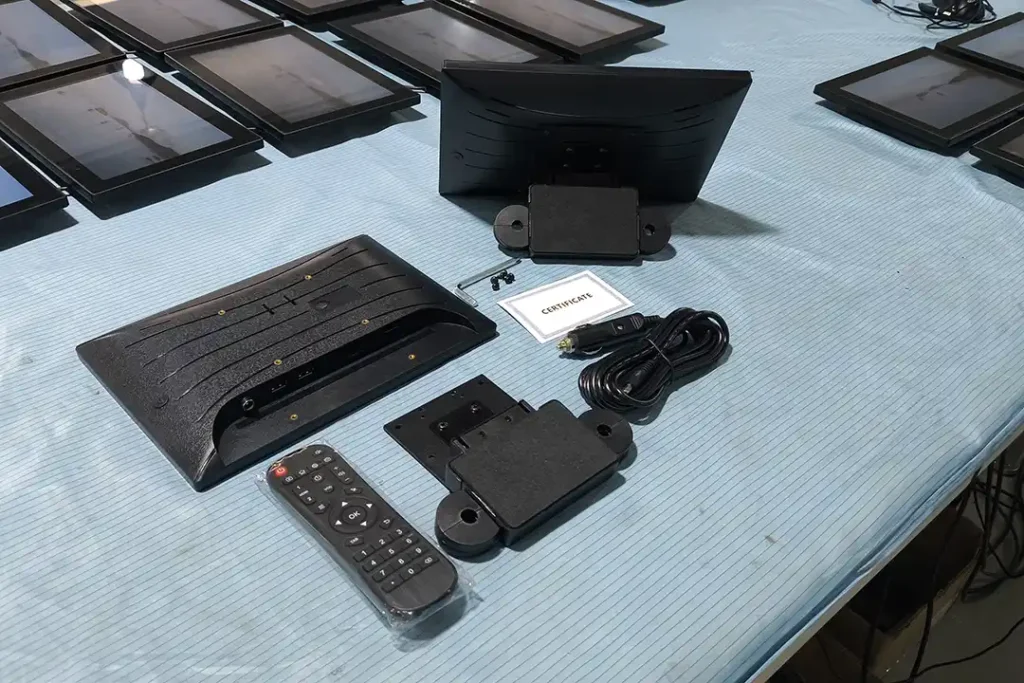
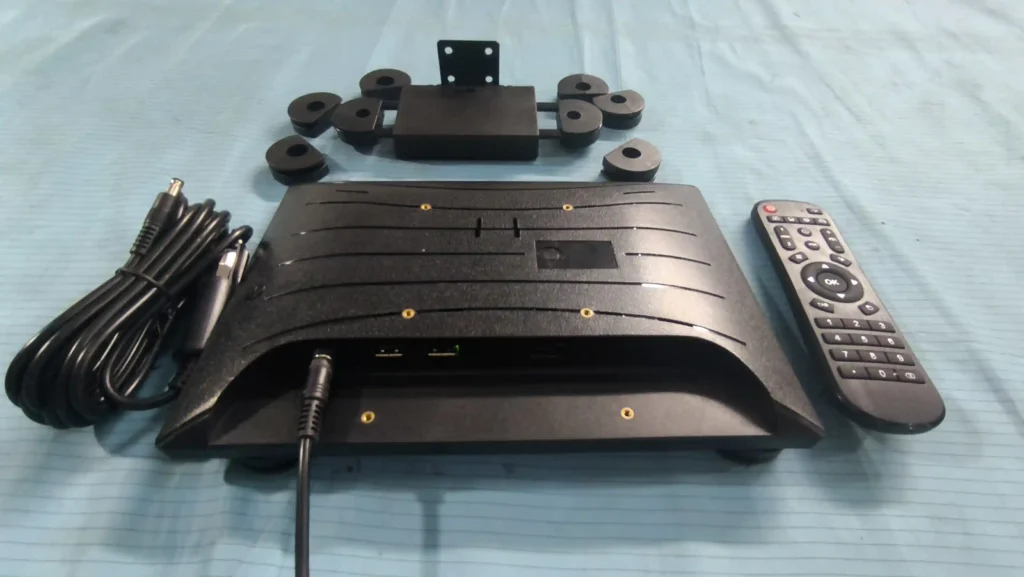
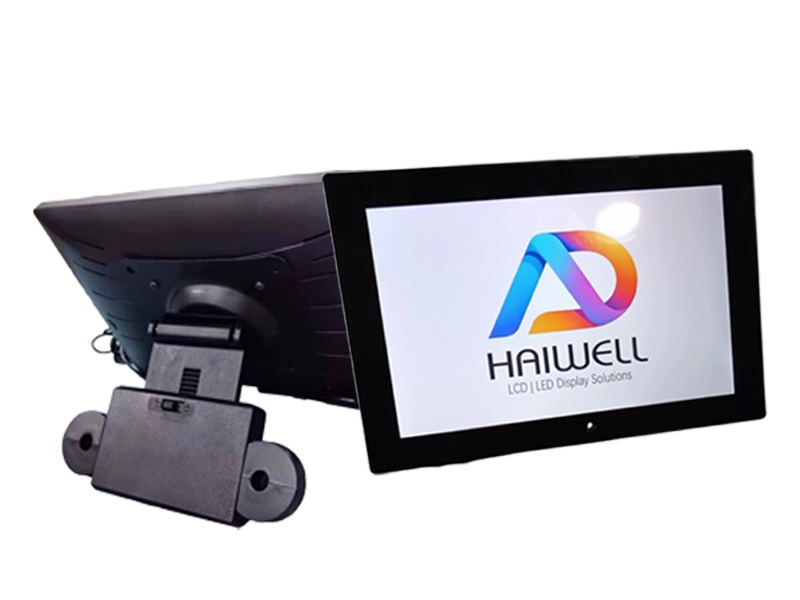
Every standard commercial kit includes the 10.1-inch display unit, an adjustable steel mounting bracket, a set of multi-diameter rubber adapter rings, a wireless infrared remote control, and a car cigarette lighter power cable.
- Display Unit: A commercial-grade 10.1-inch LCD panel optimized for vehicle power inputs and continuous daily playback.
- Mounting Hardware: Heavy-duty steel brackets engineered to absorb vehicle vibrations and prevent screen shaking.
- Rubber Adapters: Various ring sizes designed to grip seatback poles securely regardless of pipe thickness.
- Power Supply: Standard 12V/24V car cigarette power adapters or hardwire options for clean cabin wiring.
How do you choose the right adapter rings for vehicle headrest poles?
Selecting the correct adapter rings insert depends on the outer diameter of the front seat headrest steel poles, which typically range from 10mm to 14mm across different car brands.
- Measure Pole Diameter: Check the thickness of the driver or passenger seat headrest rods using a caliper or ruler.
- Select Insert Size: Pick the matching split-rubber ring from the kit that fits snugly around the steel rod.
- Insert into Bracket: Place the adapter rings inside the bracket clamp to protect the metal pole from scratches and ensure a tight, friction-based fit.
How do you mount the steel bracket onto front seatback poles?
The mounting bracket is positioned between the two vertical steel rods of the front seat headrest before the seat is readjusted.
- Position the Bracket: Hold the adjustable metal bracket horizontally across the two headrest poles beneath the headrest cushion.
- Align the Clamps: Wrap the bracket clamps around the rubber-insulated poles on both sides.
- Tighten Fasteners: Securely tighten the fixing screws using a standard hex key or screwdriver so the bracket remains rigid and anti-vibration during driving.
How do you attach and lock the LCD screen onto the mounting bracket?
Once the bracket is firmly bolted to the seat rods, the display monitor slides or clips directly onto the central mounting plate.
- Align Slot and Mount: Match the rear mounting interface of the 10.1-inch monitor with the bracket head.
- Lock in Place: Secure the safety lock or tightening knob to prevent the screen from sliding or detaching when passengers enter or exit the vehicle.
- Adjust Viewing Angle: Tilt the display slightly downward for optimal eye-level viewing by rear-seat passengers.
How do you connect power and network cables for in-car digital signage?
Power and data connectivity ensure the display turns on automatically with the vehicle ignition and receives real-time advertising updates.
- Plug Power Cable: Insert the DC power plug into the bottom of the monitor and route the cable neatly down the seatback cover to the car’s cigarette lighter socket.
- Network Activation: Configure the built-in 4G SIM card, Wi-Fi network, or LAN connection for remote content management.
- Test Playback: Power on the vehicle ignition to verify that the screen boots up and begins playing scheduled media files through the cloud CMS.
Why choose Adhaiwell as your taxi headrest LCD screen manufacturer?
Partnering directly with an experienced Chinese manufacturing center ensures stable hardware quality, competitive pricing, and reliable technical backup for commercial deployments.
- Strict Factory Testing: All units undergo a strict 72-hour aging and burn-in test on production lines before packaging.
- Turnkey Solutions: Comprehensive support for custom firmware, boot logos, and free cloud CMS software setup.
- Global Supply Experience: Proven export experience supplying rideshare fleets, taxi associations, and public transport contractors worldwide.
To explore full technical specifications, dimension drawings, and wholesale pricing for your fleet project, visit the official Adhaiwell Taxi Headrest LCD Advertising Display product page. For direct factory inquiries, custom OEM requirements, or bulk orders, reach out to our team at [email protected] or contact our Adhaiwell sales engineers via WhatsApp at +86 15302206052.