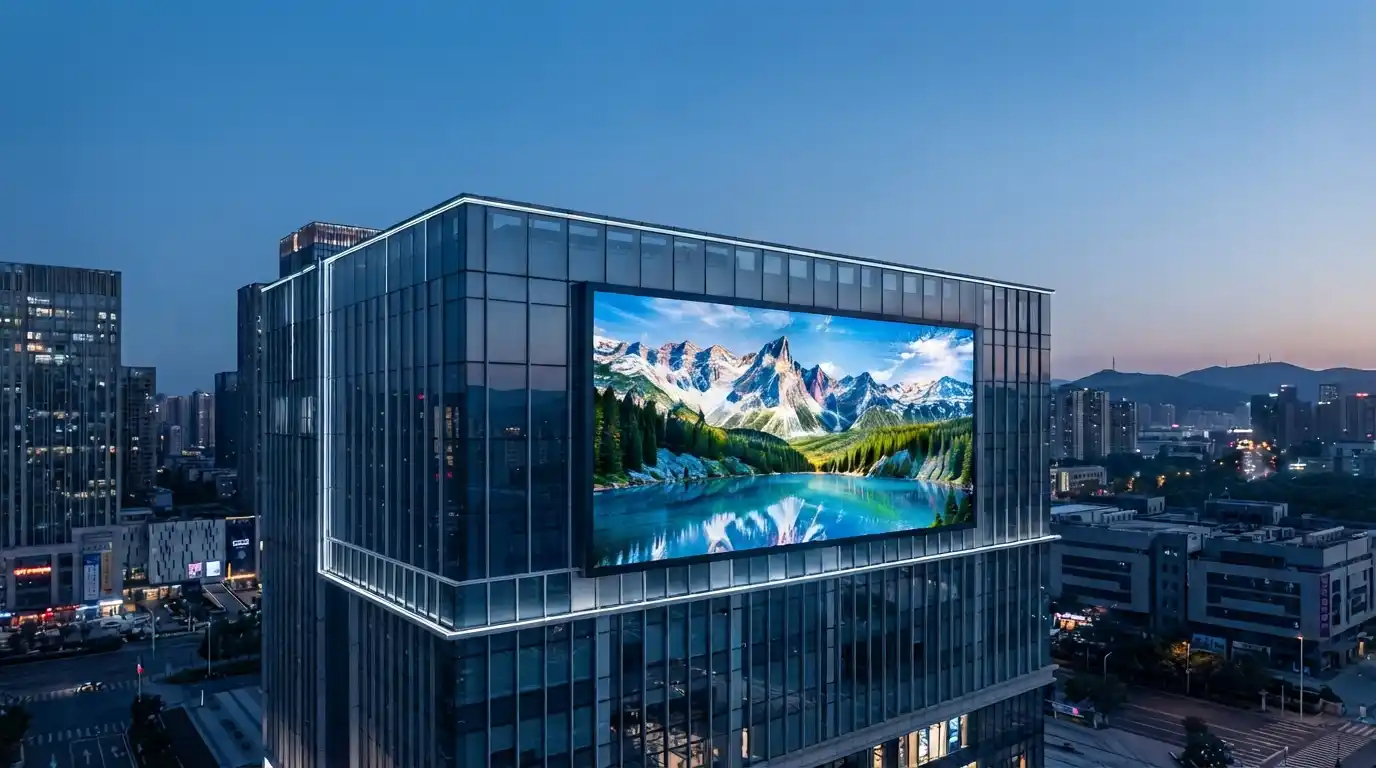
Outdoor LED display installation and maintenance is not a service contract you add after delivery — it is a design decision made at the specification stage, and it decides whether a screen earns reliably for a decade or becomes expensive to keep running in year three. This guide covers the full ownership cycle: what a correct installation involves, how the screen should be operated day to day, which parts commonly require replacement, how to diagnose faults, which spare parts to hold on site, and what a buyer should insist on before signing.
The material below is drawn from Adhaiwell’s bilingual installation, operation and maintenance specification, which the company issues with overseas outdoor projects, together with published third-party maintenance and lifespan guidance. Where a figure comes from a commercial research report or a supplier-published guide, it is identified as such. Project-specific electrical, structural and environmental requirements should always be verified against the applicable local code and the project’s engineering specification; nothing in this article overrides them.
Key Takeaways
- Installation and maintenance are specification decisions, not after-sales administration. What a screen costs to own is largely fixed by the survey, the electrical design, the cabinet material, the maintenance access and the documents agreed before the order.
- Most field faults are drop-in part swaps. Dot-type faults point to the LED module, line-type faults to the ribbon cable or driver IC, area-type faults to the switching power supply, and whole-screen faults to the sending card, the playback PC or the distribution board.
- Life is set by brightness, heat and content more than by the calendar. Adhaiwell’s field specification describes an aging, a stable and a luminous-decay stage across the life of an LED, and holding output below the rated maximum, dimming at night and rotating static playlists is the cheapest intervention available.
- Service and parts are recurring costs, not one-off events. Published breakdowns put annual maintenance contracts at roughly 5%–10% of initial installation cost (LumenMatrix, 2026, supplier-published cost guide), while a separate planning figure allows about 2%–5% of the initial display investment per year (FinePixel LED, 2026). Both are supplier-side estimates with no published methodology — directional planning ranges, not quotations.
- L70 is where supplier claims are most often overstated. L70 describes LED light-output maintenance under a defined test and projection method; it is not a guaranteed service life for the complete display, and buyers should ask which components and conditions the figure covers.
Outdoor LED Display Installation & Maintenance at a Glance
| Area | Recommended practice |
|---|---|
| Installation | Site survey, structural check, electrical design, waterproofing and commissioning before operation, with flatness and colour consistency held within project tolerance |
| Power | Match voltage, frequency (50 Hz or 60 Hz) and grounding to the local electrical system and project code; MCB, RCD and SPD where the design requires them |
| Sealing | IP rating matched to the exposure — IP65 front and rear on applicable Adhaiwell outdoor cabinets |
| Brightness | Operate below maximum rated output where practical; many specifications use a 70%–80% band as the working ceiling, with scheduled dimming at night |
| Maintenance | Run daily, weekly, monthly, quarterly and annual inspection cycles instead of waiting for failures |
| Troubleshooting | Diagnose software, signal and power before replacing hardware: dot faults are modules, line faults are cables or driver ICs, area faults are power supplies, whole-screen faults are the sending card or distribution board |
| Spare parts | Hold roughly 2%–3% of modules and about 2% each of power supplies and receiver cards for a permanent installation |
| Dead-pixel acceptance | Commonly specified at a factory rate of 0.03% or less — about 3 LEDs per 10,000; agree both the number and the measurement method |
| Documentation | Retain drawings, wiring diagrams, receiver parameters, calibration data, service records and warranty terms |
| Procurement | Confirm service access, component specifications, acceptance criteria and support arrangements before signing |
Why does outdoor LED display maintenance cost more than buyers expect?
Because the purchase price covers only part of what a screen costs over its life, and downtime can cost more than the replacement parts. Media owners and operators who budget only for the display itself tend to underestimate service access, spare parts, energy use and preventive maintenance — and those are the line items that decide whether the screen stays commercially useful.
- Service and parts are recurring costs. Published cost breakdowns for outdoor LED billboards put annual maintenance contracts at roughly 5%–10% of initial installation cost, with energy on top (LumenMatrix, 2026, supplier-published cost guide). A separate 2026 planning figure puts the maintenance and replacement-parts allowance at about 2%–5% of the initial display investment per year (FinePixel LED, 2026). Both are supplier-side estimates with no published methodology, so treat them as directional planning ranges rather than quotations.
- The market this hardware serves is growing. The World Out of Home Organization (WOO) puts global digital out-of-home at US$25.5 billion in 2025, rising to US$28 billion in 2026, with programmatic DOOH at about US$2.1 billion, or 8.4% of the total (WOO, as cited in Adhaiwell’s taxi advertising LCD display market analysis). This is third-party market context rather than a revenue forecast, and commercial research methodologies differ.
- Regulation can affect how a screen is allowed to operate. Lighting and outdoor advertising requirements vary by country and municipality. In some European markets, nighttime luminance controls and energy-efficiency requirements can affect operating schedules; market research on digital out-of-home identifies this as a structural trend rather than a single rule (Market Research Future, Digital OOH Market 2026-2035, third-party estimate). Buyers should confirm local requirements before commissioning a permanent outdoor LED display.
- Most failures are routine rather than catastrophic. Dead LEDs, aged power supplies, loose connections, degraded seals and blocked drainage are common service issues. Few of them automatically require a complete screen replacement.
- Modularity is what makes long-term service practical. Because modules, power supplies and receiver cards are replaceable units, the cost of a fault can often be limited to a component and the associated labour — provided the screen was specified with suitable maintenance access. That is why the six-factor selection framework for DOOH displays treats maintenance access and build quality as procurement criteria rather than afterthoughts.
What does a correct outdoor LED display installation involve?
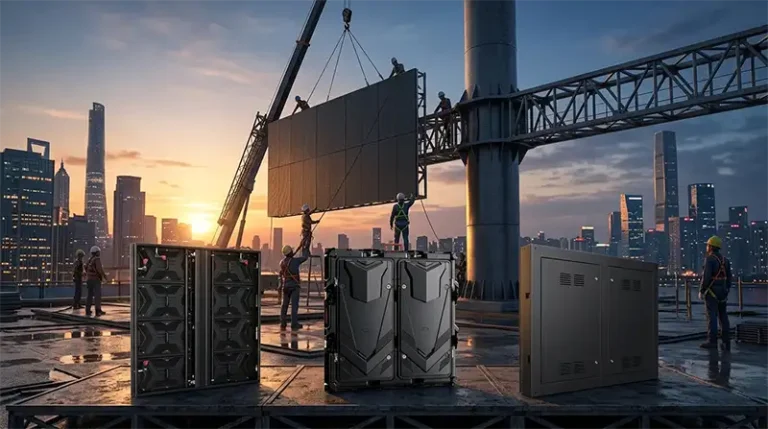
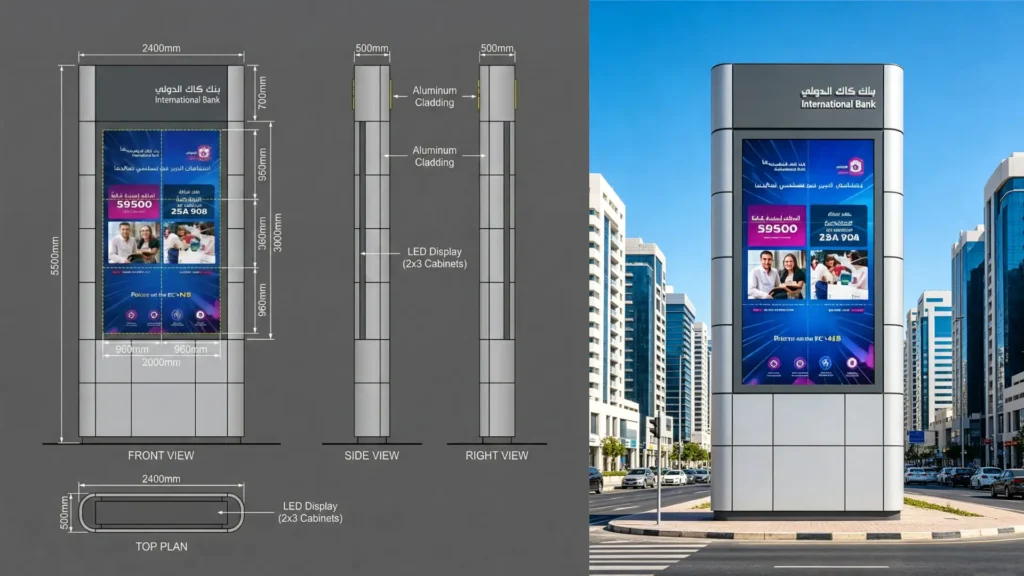
Eight stages, and the sequence matters more than the speed. A successful outdoor LED display installation starts with the site rather than the cabinet — structural capacity, electrical conditions, drainage, access and environmental exposure should all be settled before equipment is ordered.
- Site survey before anything is ordered. The wall or steel structure must carry the full weight of the screen, and outdoor projects need a documented load-bearing calculation. Old or weak walls should be reinforced first. Standard screens may need additional protection, or a project-specific specification, in high salt-spray coastal, desert or severe-dust environments.
- Power and grounding matched to the local grid. Confirm the local voltage, frequency (50 Hz or 60 Hz) and grounding system type before ordering. Distribution commonly includes an MCB, an RCD and an SPD where the project design requires them. Grounding resistance must comply with the applicable local electrical code — values such as 4 ohms or below appear in project specifications but are not a universal requirement.
- Cable separation. Route power and signal runs according to the project’s electrical and EMC requirements. A separation distance such as 30 cm is a common installation practice, but the final layout should follow the equipment manufacturer’s instructions and local requirements. Standard copper network cable is normally limited to 100 m per Ethernet run; longer communication distances may need fiber.
- Waterproofing and drainage as a system, not a sealant job. Specify an IP rating appropriate to the installation. Adhaiwell outdoor cabinet ranges, for example, use IP65 sealing front and rear on applicable models. Continuous seam sealing, protected cable outlets, open drainage paths and suitable rain protection all matter — and drain holes should never be blocked simply to make a cabinet look more sealed.
- Frame flatness within tolerance. Module splicing flatness should stay within the cabinet and project tolerance, with even stress across the frame. Do not mix modules of different pixel pitches, brightness bins or incompatible batches where that can produce visible colour differences.
- First power-on under controlled conditions. Test voltage before applying the load, connect equipment with the power off, and energise the display in a controlled sequence. Bring cabinets up progressively where appropriate, and check for short circuits, abnormal heating, odour or noise before running the complete display.
- A pre-delivery checklist covering six areas. Structure, electrical, signal, display, waterproofing and documentation. Display testing should include full white, red, green, blue and greyscale fields where applicable. Documentation should include as-built drawings, wiring diagrams, parameter backups, calibration data and warranty terms.
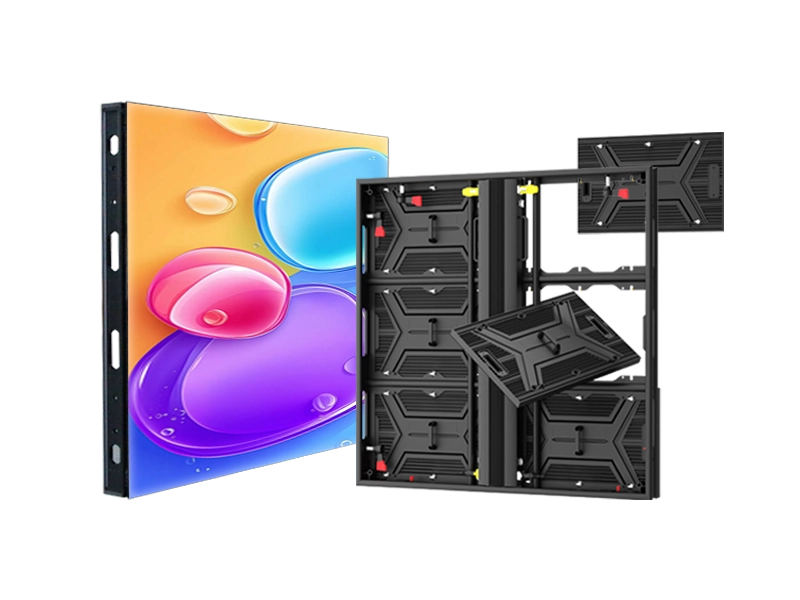
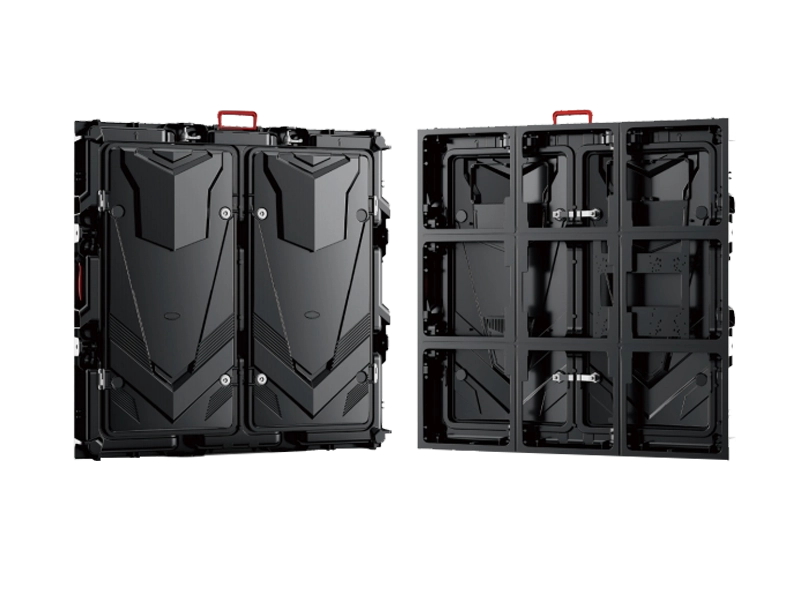
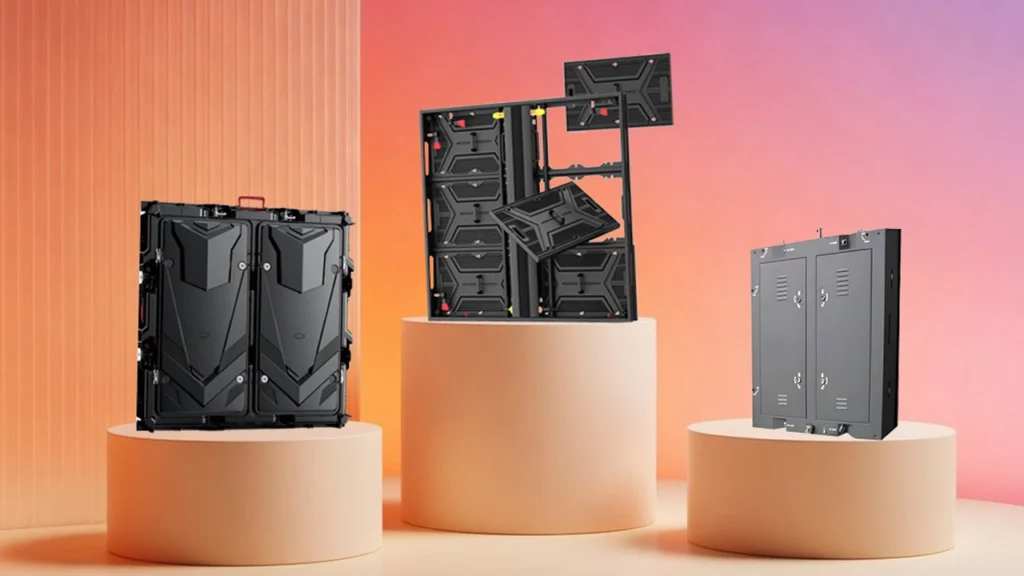
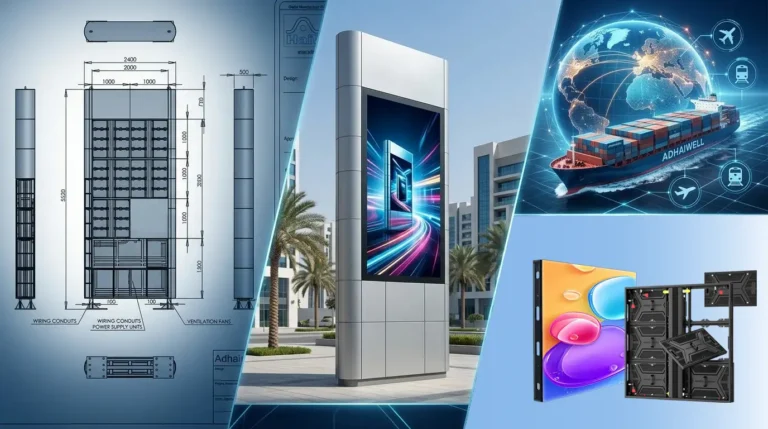
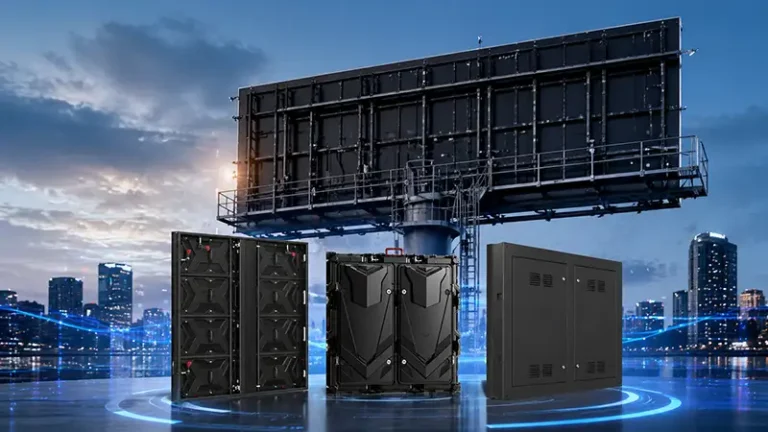
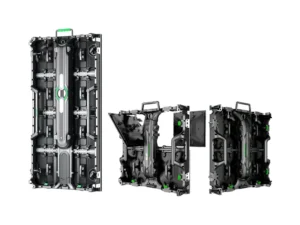
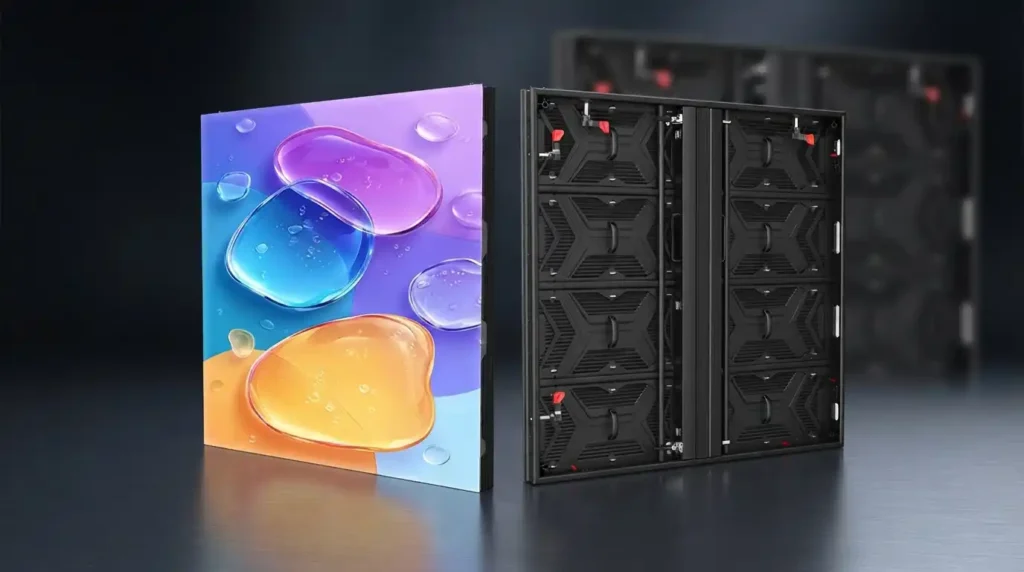
- Hardware chosen for serviceability. For example, aluminium-profile outdoor LED display cabinets published by Adhaiwell are built around a 1000 × 1000 mm cabinet at 23 kg with IP65 sealing front and rear, a stated flatness tolerance of 1 mm, front and rear access, and a published module swap time of about 90 seconds without tools. The range covers P3.91 to P10.42 at 5,500–10,000 nits with 3,840 Hz refresh and a −20 °C to +65 °C operating window.
How do site conditions affect outdoor LED display maintenance?
The same outdoor LED display specification should not be applied blindly to every climate or installation environment. Heat, humidity, salt, dust, altitude and physical access all change the maintenance requirement, and they change it more than screen size does.
- Coastal sites need corrosion control. Salt spray accelerates corrosion of metal structures, connectors and fasteners. Cabinet material, surface treatment, sealing specification and inspection intervals should be selected with that exposure in mind.
- Desert and high-dust sites need more frequent cleaning. Dust restricts ventilation, increases heat retention and affects optical components. Air paths, filters where used, and cabinet surfaces should be inspected more often, and the cleaning schedule should be set by measured dust load rather than by a fixed interval.
- Tropical and high-humidity sites need condensation control. Waterproofing does not mean a cabinet can be safely powered while wet. Drainage, ventilation, sealing and a controlled startup procedure matter wherever humidity and temperature swings can produce condensation inside the cabinet.
- Cold climates require attention to operating limits. Check the manufacturer’s minimum operating temperature, power-supply specification and startup procedure rather than assuming all outdoor displays share the same low-temperature capability.
- High-altitude projects may require derating. Reduced air density affects thermal management. The manufacturer should confirm whether power supplies or other components need derating above the project’s stated altitude.
- Roadside and high-mounted screens need an access plan. A display can be technically serviceable and commercially unmaintainable if technicians need expensive lifting equipment or road closures. Maintenance access belongs in the structural design, not in a post-installation compromise.
How should an outdoor LED display be operated day to day?
Run it below its rating where practical, control brightness to ambient conditions, manage heat, and avoid unnecessary high-power content. Brightness, temperature and content are the three variables an operator actually controls, and they affect both power consumption and component stress.
- Respect the power sequence. On: distribution cabinet, then screen power, then playback computer and software. Off: reverse the order. Allow the manufacturer’s specified delay between power cycles — commonly at least one minute — and avoid using the main breaker as a routine way to shut the screen down.
- Brightness is a lifespan consideration, and LED output is not constant across the life of a screen. Adhaiwell’s field specification describes three broad stages: an initial aging stage (roughly the first 200 hours) when output fluctuates and brightness is best held to about 60%–70% of rated output; a stable stage (roughly 200–5,000 hours) when a 70%–80% band is a reasonable working ceiling; and a luminous-decay stage after that, in which a module delivering 70%–80% of its original brightness is at end of life. Treat those hours as a description of the curve rather than a warranty schedule — drive current, ambient temperature and content all move the numbers, and the manufacturer’s recommended operating range takes precedence.
- Derating addresses the same problem from the drive-current side. Supplier-published planning guidance from Pixelight (2026) recommends running LEDs below rated drive current to slow depreciation, and field-service guidance from LED Craft (2026) reaches the same conclusion from the thermal side: each 10 °C above rated operating temperature can halve component life. Both are supplier-published rules of thumb rather than laboratory results, and any specific percentage is tied to the conditions of the test it came from — so use the direction, and take the number from your own component datasheet.
- White content is the expensive content. White requires the red, green and blue channels to emit at full power simultaneously, so a white frame draws roughly three times the power and generates roughly three times the heat of a single-colour frame at the same brightness. That follows directly from how RGB LEDs work, and it is why dark or neutral backgrounds with bright accents cost less to run and age more slowly. Where power and thermal load matter, treat content design as part of the brightness decision rather than a separate creative question.
- Night dimming is often a cost and a compliance matter at once. European municipalities and other jurisdictions increasingly regulate nighttime luminance for outdoor advertising and displays (Market Research Future, Digital OOH Market 2026-2035, third-party estimate). Scheduled dimming is commonly configured at 10%–30% of daytime output; set it to the local requirement rather than relying on a manual setting.
- Know the environmental envelope — and take it from the model, not from a generic rule. Many outdoor LED displays are specified for roughly −10 °C to +50 °C at up to 85% relative humidity, non-condensing, with power-supply derating above about 2,000 m. Those are common industry values rather than a universal specification: Adhaiwell’s aluminium-profile range, for instance, is published for −20 °C to +65 °C. Power the screen on only when it is dry.
- Rotate static content. Long-running static or high-contrast images can contribute to uneven ageing or image retention. Rotate playlists, and avoid leaving the same bright element in the same position for extended periods.
Which parts fail first, and what do you replace?
LED modules, switching power supplies and receiver/control cards are the main serviceable components — and all three can be replaced without replacing the complete display where the cabinet is designed for modular maintenance. Identifying the fault pattern tells a technician which component to take to site before anything is opened or dismantled.
Published field-service guidance from LED Craft (2026, supplier-published) gives a component-level view of typical service intervals:
| Component | Typical service life / planning range | Replace when |
|---|---|---|
| LED modules | 10–22 years in some L70-based planning references | Clustered dead LEDs, a whole row or column dark, obvious colour difference, water ingress or physical damage |
| Switching power supply | 5–8 years in supplier-published guidance | A cabinet or vertical strip is dark, output voltage is unstable, or the unit repeatedly enters protection |
| Receiver / control card | 5–10 years in supplier-published guidance | Every module in a cabinet fails, parameters will not write, address conflicts occur or firmware is corrupted |
| Cabinet and enclosure | 15–25 years in some planning references | Structural damage or significant corrosion |
| Gaskets and seals | 3–5 years in some maintenance planning references | Hardened, cracked or detached; replace preventively where the environment requires it |
| Surge protection device | 3–5 years in some planning references | After a significant surge event, or when the device indicates failure |
These are planning ranges, not guarantees. Actual service life depends on component quality, operating temperature, drive conditions, environmental exposure, installation quality and the maintenance regime itself.
For power supplies specifically, planning references put rated life at 30,000–50,000 hours for entry-level units and 50,000–80,000 hours for commercial-grade units (Pixelight, 2026, supplier-published planning guidance). That gap is why the power supply is usually the first component a long-running screen consumes, and why specifying a commercial-grade unit at the order stage generally costs less than replacing an entry-level one twice.
How do you troubleshoot common outdoor LED display failures?
Map the symptom to the simplest likely cause before ordering a replacement part. Most field faults fall into four shapes, and the shape tells you which part to take to site: dot-type faults (a few LEDs) are the LED module; line-type faults (a whole row or column) are the ribbon cable or driver IC; area-type faults (one cabinet or a vertical strip) are the switching power supply; and whole-screen faults are the sending card, the playback PC or the distribution board. Work from software and power checks toward hardware replacement, and change one thing at a time.
- A few dead or dim LEDs (dot-type). Cause: LED failure, a cold solder joint, a driver issue or water-related damage. Action: inspect the module and its connections, then replace the LED module if required. A few isolated dead LEDs may not affect overall use, but the acceptance threshold should be defined in the project specification — a factory dead-LED rate of 0.03% or less for full-colour screens (about three LEDs per 10,000) is common in supplier specifications.
- A whole row or column dark or permanently lit (line-type). Cause: driver IC failure, a loose internal ribbon cable, or poor contact between the module and the receiver card. Action: inspect the cable and module connection, verify the receiver output, and replace the affected module or cable as required. If the same position recurs across several modules, treat the ribbon cable as the primary suspect and inspect the receiver-card port.
- One module fully dark. Cause: module power fault, damaged module, or a loose or damaged input ribbon cable. Action: inspect the cable, test module input power, then replace the module if the supply is healthy but the module is unresponsive.
- A vertical strip or several adjacent modules dark (area-type). Cause: the corresponding switching power supply has no output, is damaged, or has a loose connection. Action: check input and output wiring, then replace the power supply if necessary.
- The whole screen black. Cause: main breaker or RCD trip, sending card or playback PC failure, no software output, or loose signal cabling. Action: check the distribution board first, then the control equipment and signal path, before replacing any hardware.
- Garbled, misaligned or flickering image. Cause: receiver-card parameters or firmware, a loose ribbon cable, signal interference, or a communication run beyond its specified distance. Action: verify and restore the receiver configuration, inspect the cables, and move long communication runs to fiber where appropriate.
- Colour cast or tearing in one area. Cause: module batch difference, lost calibration data, or inconsistent receiver-card parameters. Action: restore the calibration data, verify the receiver configuration, and replace affected modules if necessary.
- Overheating. Cause: a blocked air path, a failed fan where applicable, excessive ambient temperature, or an aged power supply. Action: clear the ventilation paths, inspect thermal conditions, and replace failed components as required. Reducing brightness also reduces thermal load.
- Water ingress, dampness or electrical tripping. Cause: aged sealant, failed waterproofing, blocked drain holes or cabinet deformation. Action: isolate the power, dry the display fully, inspect the seals and drainage, and replace damaged components before restoring operation.
- Smoke, odour or abnormal noise. Cause: power-supply failure, cable overload, loose terminals or electrical damage. Action: cut the power immediately and have the electrical system inspected before replacing components or restarting the display.
Work in this order: software before hardware, simple before complex, outside before inside, small before big. Replace one part at a time and verify before moving on, so the actual fault is identified rather than masked.
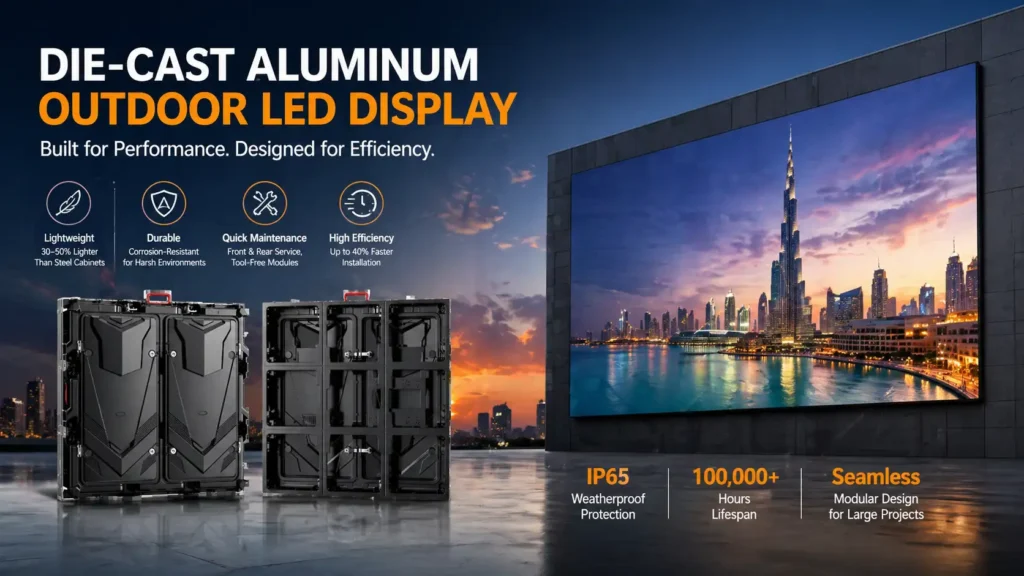
The same principle drives hardware design on units such as the die-cast aluminium outdoor LED display, where Adhaiwell publishes a CNC-machined cabinet tolerance of under 0.1 mm and states that a power box or control card can be swapped in under 60 seconds without dismantling the screen. Adhaiwell also reports an eight-year operating reference for one of these units in Nigeria. This is a client-reported example rather than an independently audited lifespan result.
What does L70 mean for an outdoor LED display lifespan?
L70 describes LED light-output maintenance, not a guaranteed service life for the complete LED display system. The distinction matters most when two suppliers quote very different lifespan figures for superficially similar screens.
L70 refers to the point at which an LED source is expected to retain approximately 70% of its initial luminous output under a defined test and projection methodology. LM-80 and TM-21 are the associated lumen-maintenance test and projection references, but neither should be read as a guarantee that every electrical and mechanical component in an outdoor LED display will operate for the same number of hours.
For buyers, the practical questions are:
- What L70 value is specified for the LED source?
- Which test or projection method supports the stated value?
- At what drive current and temperature was the data obtained?
- What is the expected service life of the power supplies?
- What is the replacement procedure for receiver cards and modules?
- What environmental operating range applies to the complete display?
- What warranty and spare-parts support is included?
Professional outdoor LED products are commonly marketed with LED source ratings in the 50,000–100,000-hour range, but that figure should not be converted directly into a guaranteed 11–22-year lifespan for the entire display. A commercial LED display is a system of LED modules, power supplies, control electronics, cabinet structures, connectors and seals, each with a different failure mechanism and a different replacement interval.
How do you build a preventive maintenance schedule?
Match the inspection interval to the failure mode: daily visual, weekly display check, monthly physical, quarterly electrical, and annual full inspection. A schedule that only reacts to faults is a repair log, not preventive maintenance.
| Cycle | What to check |
|---|---|
| Daily | Normal display, no abnormal noise, odour, flicker or local blackout |
| Weekly | Dead LEDs, dark or bright lines, colour blocks, image corruption; whether the playlist has drifted into long static or high-white content |
| Monthly | Cable heating, terminal tightness, loose screws, abnormal noise and odour, fan operation, screen cleaning, module fixation |
| Quarterly | Grounding and electrical checks to local requirements, SPD status, cabinet waterproof sealing, drain-hole clearance, receiver-card parameters and calibration backup |
| Half-yearly / before the rainy season | Gasket replacement assessment, cabinet anti-corrosion inspection, power-supply output spot-check |
| Annually | Full electrical and structural inspection, anti-corrosion treatment where required, assessment of luminous decay and a module replacement plan |
- Cleaning has rules. Use a dry, dust-free cloth or a soft brush. Never spray water or liquid cleaner directly onto the screen, and never use alcohol or acetone on the mask unless the manufacturer specifically approves it. Power the screen off first and confirm it is completely dry before energising.
- Heat is the multiplier on everything else. LED Craft’s field-service guidance (2026) states that each 10 °C above rated operating temperature can halve component life. That is a supplier-published rule of thumb rather than a laboratory result, but it explains why a blocked air path or a dirty duct so often shows up as an electronic failure three cabinets away.
- Keep the inspection record. A signed cycle sheet per visit is what turns a maintenance programme into evidence — for the warranty claim, for the insurance file and for the next procurement decision.
Which spare parts should you keep on site?
Modules, power supplies and receiver cards, sized as a percentage of what is installed, matched to the original batch and specification, and stored dry. A spare-parts reserve is what converts a three-day fault into a three-hour one, and it costs a small fraction of the screen.
| Part | Planning quantity | Notes |
|---|---|---|
| LED modules | roughly 2%–3% of total modules | Same pixel pitch, same brightness bin and, where colour consistency matters, the same batch |
| Switching power supplies | about 2% | Match output voltage and current rating exactly; a substitute unit is a common cause of repeat failure |
| Receiver / control cards | about 2% | Pre-load the current configuration where the system allows it |
| Sending card | 1 unit | The single point of failure for the whole screen |
| Ribbon cable, network cable, sealant, gaskets | a small service kit | Consumables; restock after every use |
| Surge protection device | 1 unit | Keep the same model family as the installed SPD so the replacement is a direct swap |
These quantities are planning recommendations rather than universal requirements — from the Adhaiwell specification, and worth scaling to the criticality of the screen. A screen that carries revenue every hour justifies more than a decorative facade unit.
- Same specification, same batch. A replacement module from a different batch or brightness bin can produce a permanent visible colour difference on a finished screen. It is the most common self-inflicted maintenance fault, and it is entirely avoidable.
- Store spare modules correctly. Keep them dry, at roughly 0–40 °C, out of direct sunlight, and manage them first-in-first-out so the oldest stock is consumed first.
- Log every swap. Record the module number, the replacement date and the reason. Over two or three years the log shows whether failures are random or concentrated in one cabinet, one power-supply model, one environmental exposure or one face of the structure.
What is the difference between preventive, predictive and corrective maintenance?
Preventive maintenance reduces avoidable failures; corrective maintenance restores operation after a fault. For a large commercial LED display both are necessary, and the useful question is the mix rather than the choice.
| Maintenance type | Purpose | Typical tasks |
|---|---|---|
| Preventive | Reduce failure probability | Cleaning, inspection, sealing and connection checks |
| Predictive / condition-based | Identify deterioration early | Temperature, power, brightness and fault monitoring |
| Corrective | Restore operation | Module, power-supply or receiver replacement |
| Emergency | Restore critical uptime | Electrical fault isolation, water ingress response and urgent component replacement |
The right mix depends on screen size, operating hours, environment, access method and how much revenue the display carries. A screen on a building facade with rear access and moderate rainfall can run a lighter preventive programme than a pole-mounted unit on a coastal road where every service visit needs a lifting platform.
What should buyers verify before signing an outdoor LED display contract?
Ask for the maintenance regime in writing, not only the feature list. The specification that ships with the screen determines how predictable the next several years of ownership will be.
- A signed installation, operation and maintenance specification. Not a generic datasheet — a document covering survey, construction, commissioning, operating limits, inspection intervals and fault handling.
- A dead-pixel acceptance threshold expressed as a number. Some supplier specifications use a factory dead-LED rate of 0.03% or less for full-colour screens — about three LEDs per 10,000. If that benchmark matters to the project, put the number and the measurement method in the contract rather than assuming every supplier measures it the same way.
- The L70 rating and the test basis behind it. Ask what the stated LED lifetime means, which test or projection method supports it, and under what drive and thermal conditions the data was obtained.
- Module swap time and access direction. Front access matters where there is no rear corridor. Ask for the maintenance method in writing, including the tools required and the expected service procedure.
- Spare-parts kit contents and quantities. Define which modules, power supplies, receiver cards, cables and other components are included, and state whether replacement parts must match the original specification or batch.
- Warranty scope and exclusions. Read the exclusions list specifically — force majeure, misoperation, unauthorised modification and non-original parts are the clauses most often worth clarifying before signature.
- Documentation and remote support. Request as-built drawings, wiring diagrams, parameter backups, calibration data and a support channel that can diagnose a fault from photographs before a technician travels.
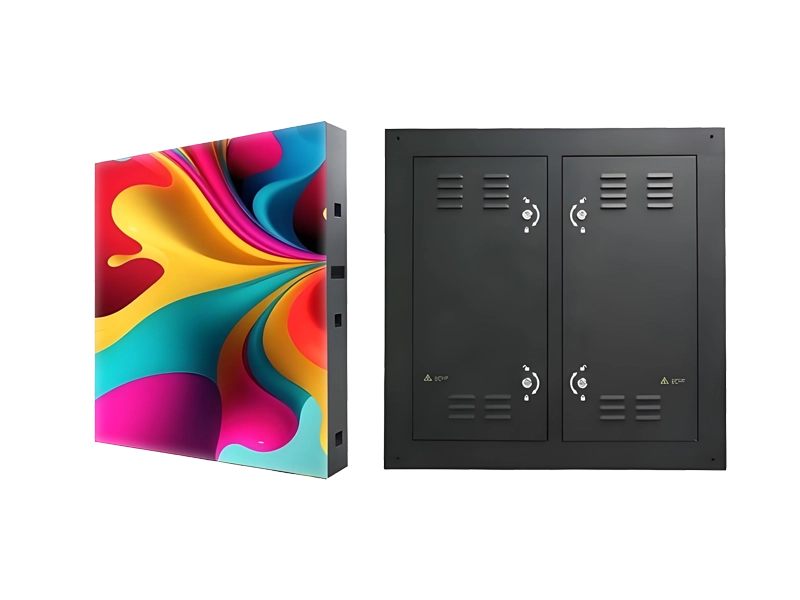
- Cabinet material matched to the site. Inland fixed structures, coastal landmarks and pole-mounted street furniture do not need the same cabinet. The cabinet material decision guide sets out how steel, die-cast aluminium and extruded aluminium profile compare on weight, flatness, corrosion resistance and access.
What should an outdoor LED display manufacturer provide?
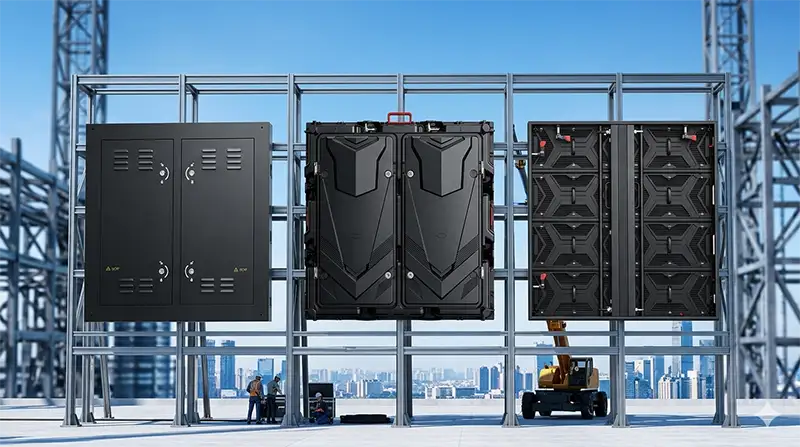
A professional outdoor LED display supplier should provide more than a product datasheet. For an engineered installation, the documentation and commissioning information are part of the deliverable, not a favour negotiated after the order.
Before signing, buyers and system integrators should confirm whether the supplier provides:
- Installation drawings
- Cabinet layout and structural interface information
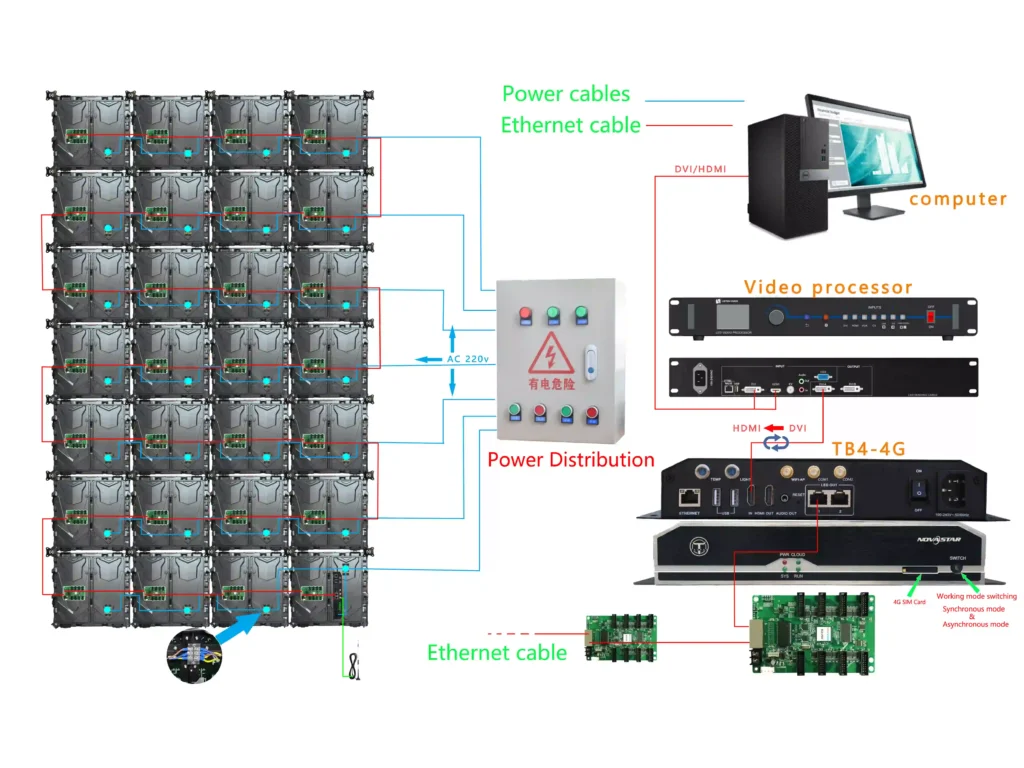
- Electrical and power-distribution information
- Wiring diagrams
- Receiver-card configuration and parameter backups
- Calibration data where applicable
- Commissioning and pre-delivery test records
- A recommended spare-parts list
- Installation and maintenance instructions
- Warranty terms and exclusions
- Remote technical support procedures
- Product-specific operating limits
For a large permanent LED display, these documents matter to long-term serviceability as much as brightness, pixel pitch or refresh rate. A supplier who cannot produce them is effectively handing the owner an undocumented system — and the cost of closing that gap usually appears in year two, on the service invoice.
What should a buyer compare besides price per square metre?
Compare serviceability, documentation, component specifications, operating conditions and support — not only the initial display price. On a screen that runs for a decade, the specification decides the operating cost far more than the invoice does.
A useful procurement comparison covers:
- Pixel pitch
- Brightness
- Refresh rate
- Cabinet material
- IP rating
- Maintenance access
- Power consumption
- Operating temperature range
- LED and power-supply specifications
- L70 documentation
- Calibration method
- Spare-parts package
- Warranty terms
- Installation documentation
- Remote technical support
- Local service requirements
A lower initial price becomes considerably less attractive if the display is hard to access, needs specialist tools for routine replacement, has limited spare-parts availability, or arrives without the documentation needed to diagnose a fault.
Where can you download a ready-to-use installation and maintenance specification?
Adhaiwell publishes its bilingual installation, operation and maintenance specification as a downloadable technical document for overseas projects. It is written to be used by buyers, contractors and service teams rather than read once and filed.
The document runs to ten sections plus three appendices:
- Sections: important warnings; pre-installation preparation (survey, equipment inspection, tools and safety); construction (frame, modules, power, signal, grounding, waterproofing, first power-on, pre-delivery checklist); daily operation (power sequence, brightness management, playback content, environment, power failure and idle periods); maintenance and inspection; common faults with the part to replace for each; safety prohibitions; warranty and after-sales; spare module storage; and a modular replacement guide.
- Appendices: main parts, functions and replacement timing; an inspection record template you can use as a service log; and an abbreviation reference covering LED, MCB, RCD, SPD, PCB, IP, IEC, NEC and grounding system types.
Three practical ways to use it: attach it to a tender as a technical annex, hand it to the installation contractor as the site quality standard, and run the inspection template as the ongoing service record.
Download it from the Adhaiwell Download & Support Centre, alongside product datasheets and technical guides.
Frequently asked questions about outdoor LED display installation and maintenance
Adhaiwell has manufactured LED and LCD displays in Shenzhen for more than 15 years and exports to international markets. The answers below come from the bilingual installation, operation and maintenance specification used for overseas projects, together with field-oriented maintenance guidance from installations in different climates.
How long does an outdoor LED display actually last?
Plan for the complete outdoor LED display as a serviceable system rather than assigning it one fixed lifespan. LED modules may carry L70-based ratings of 50,000–100,000 hours in supplier specifications, while power supplies, receiver cards and seals are likely to need replacement earlier. Many installations are upgraded for technology, pixel pitch or power-efficiency reasons rather than because every component failed.
How often should an outdoor LED display be serviced?
A daily visual check, a weekly display inspection, a monthly physical check and a periodic electrical inspection give a practical framework, with a full annual service for permanent installations. The actual interval should be adjusted for operating hours, climate, coastal exposure, dust, accessibility and local electrical requirements.
What is the most common outdoor LED display failure?
Dead LEDs and power-supply problems are the most common service issues, followed by signal, receiver-card and connection faults. The right replacement depends on the fault pattern: a few isolated dead LEDs may not need immediate module replacement, while a growing cluster or a repeat failure in the same area does.
Can I replace a single LED module myself?
Yes, if the display was designed for accessible maintenance and the replacement module matches the original specification. Replace one part at a time and verify the result before moving on. Any work inside the cabinet must be done with the power fully isolated, and the replacement module should match the original pixel pitch, electrical characteristics and calibration requirements.
Does running at lower brightness really extend screen life?
Yes, and it is one of the few variables an operator controls directly. Operating below maximum output reduces electrical and thermal stress on the LEDs, the power supplies and the driver electronics, and content with large white areas adds to that load because white drives all three colour channels at once. There is no single brightness percentage that applies to every screen — follow the manufacturer’s recommended range, and treat the first few hundred hours of operation as the most sensitive period.
The specification decides the next ten years
An outdoor LED display is an industrial asset with a service life measured in years of uptime, not in months of warranty. The displays that reach their expected service life are generally the ones specified with appropriate maintenance access, commissioned against a written procedure, operated within their rated conditions, and serviced on a planned schedule.
The point is not to promise that every outdoor LED display lasts a fixed number of years. It is to understand which components age, which environmental conditions accelerate deterioration, how quickly a failed module or power supply can be replaced, and what documentation the supplier provides to keep the system serviceable.
If you are preparing an outdoor project, start with the specification. Use the installation and maintenance document as a technical annex to your tender, and ask every supplier — Adhaiwell included — to state their dead-pixel acceptance criteria, L70 documentation, module replacement method, spare-parts package and warranty terms in writing. That comparison tells you more about the long-term serviceability of an outdoor LED display than price per square metre alone.